Logo

Unlock Your Inner Pizzaiolo: The Easiest Homemade Dough Ever

Thumbnail

Unlock Your Inner Pizzaiolo: The Easiest Homemade Dough Ever

Who doesn't love pizza? That crispy crust, bubbling cheese, and your favorite toppings – it's pure comfort. While takeout is convenient, there's a unique magic that comes with a homemade pizza. It's more than just a meal; it's an experience, a connection to the culinary art. And it all starts with the dough.

Image

The Pizza Dream: Why Homemade is Always Better

Freshness You Can Taste

Forget the cardboard-like texture of some store-bought crusts. When you make your own dough, you control every ingredient, ensuring peak freshness. You'll taste the difference in every bite – a vibrant, yeasty aroma, a perfectly chewy interior, and a satisfyingly crisp exterior. It’s a flavor profile that simply can’t be replicated by mass-produced alternatives.

Image

Customization Unleashed

Homemade dough is your blank canvas. Want a thin, New York-style crust? Or a thick, airy Neapolitan base? Maybe something garlicky, or with a hint of herbs? With homemade dough, you're the master. You can adjust the thickness, the ingredients, and even the shape to perfectly suit your vision. No more settling for limited options; your pizza, your rules.

Image

Why This Recipe is Your New Best Friend

Simple Ingredients, Amazing Results

You won't need any exotic flours or hard-to-find yeasts here. Our recipe calls for staple pantry items you likely already have on hand: flour, water, yeast, salt, and a touch of olive oil. That’s it! Yet, from these humble components, you’ll create a dough that’s incredibly pliable, rises beautifully, and bakes into a crust that rivals your favorite pizzeria.

Beginner-Friendly Steps, Guaranteed Success

We've broken down the process into incredibly simple, foolproof steps. No intimidating techniques, no hours of kneading, just clear, concise instructions that will guide you from sticky flour to a perfect, springy dough. We’re so confident, we guarantee your first attempt will be a roaring success – prepare to impress yourself!

Get Ready to Knead: Your Dough-Making Journey Begins

Let's get down to business! The aroma of freshly baked pizza starts right here, right now, with these simple steps.

Gathering Your Ingredients: A Quick Checklist

  • 3 ½ cups (about 420g) All-Purpose Flour, plus more for dusting
  • 1 ¼ cups warm water (105-115°F / 40-46°C)
  • 2 ¼ teaspoons (1 packet) Active Dry Yeast
  • 1 teaspoon granulated sugar (feeds the yeast)
  • 1 ½ teaspoons fine sea salt
  • 2 tablespoons olive oil, plus extra for the bowl

The Magic of Mixing: Step-by-Step Instructions with Photos

  1. In a large mixing bowl, combine the warm water and sugar. Sprinkle the yeast over the top. Let it sit for 5-10 minutes until foamy. This shows your yeast is alive and ready to work!
  2. In a separate bowl, whisk together the flour and salt.
  3. Pour the olive oil into the activated yeast mixture. Gradually add the flour mixture to the wet ingredients, stirring with a wooden spoon or your hands until a shaggy dough forms.
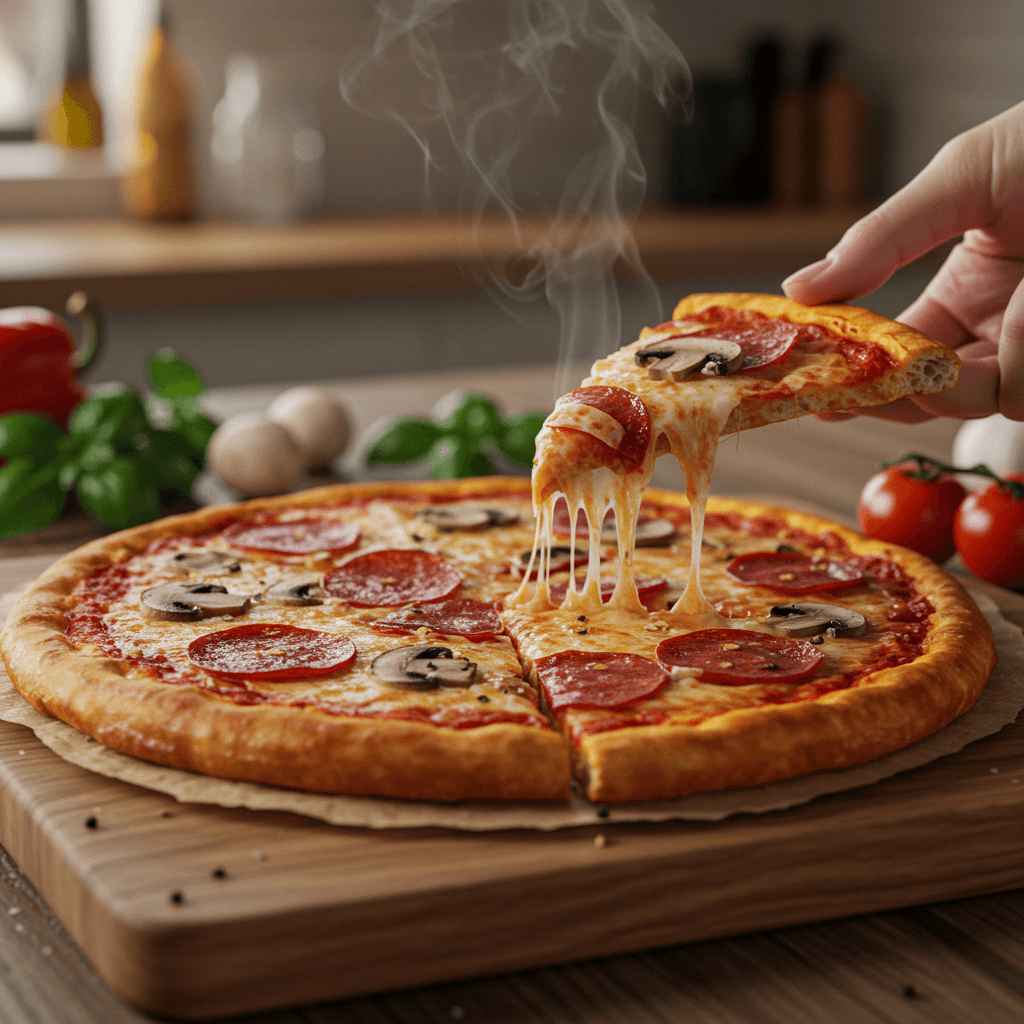
  4. Turn the dough out onto a lightly floured surface. Knead for 5-7 minutes until the dough is smooth, elastic, and no longer sticky. If it’s too sticky, add a tiny bit more flour; if too dry, a tiny bit of water. The dough should spring back when lightly poked.
  5. Lightly grease a clean large bowl with olive oil. Place the dough in the bowl, turning once to coat. Cover the bowl tightly with plastic wrap or a clean kitchen towel. Let it rise in a warm place for 60-90 minutes, or until doubled in size.
ImageImageImageImageImage

Dough-licious Details: A Video Tutorial

Sometimes, seeing is believing! For those who prefer a visual guide, we've prepared a comprehensive video tutorial walking you through every step of this dough-making process. From activating your yeast to the perfect kneading technique and watching your dough double in size, our video ensures you won't miss a beat. Grab your ingredients, hit play, and let's make some magic together! (Imagine a placeholder here for an embedded video).

Kneading Genius: Pro Tips for Perfect Pizza Dough

While our recipe is super straightforward, a few insider tips can elevate your dough from great to absolutely extraordinary.

The Art of the Stretch: Achieving the Right Consistency

When you knead, you're developing gluten – the protein network that gives bread its structure and chewiness. A well-kneaded dough should be smooth, elastic, and pass the "windowpane test" (you should be able to stretch a small piece thin enough to see light through it without tearing). Don't rush this step, but also don't overdo it. Listen to your dough; it will tell you when it's ready by becoming silky and pliable.

Image

Resting for Perfection: Why Patience Pays Off

The first rise (proofing) is crucial. It allows the yeast to work its magic, creating air bubbles and flavor. A warm, draft-free spot is ideal. Don't be tempted to cut this time short. A properly proofed dough will result in a light, airy, and flavorful crust. If you're not ready to use it after the first rise, you can punch it down, reshape it, and store it in the fridge for later (see FAQs).

Beyond the Basics: Flavor Explorations

Once you've mastered the basic dough, the fun truly begins! Our simple base is incredibly versatile, ready for your creative additions.

Image

Herb-Infused Heaven: Experimenting with Aromatic Additions

Elevate your crust by kneading in dried herbs like oregano, basil, thyme, or a classic Italian seasoning blend. Add 1-2 teaspoons per batch of dough during the mixing phase. Fresh rosemary or finely chopped garlic also add an incredible aromatic punch. Imagine a pizza with a crust that smells as good as it tastes!

Spicy Surprise: Adding a Kick to Your Crust

For those who love a bit of heat, consider incorporating a pinch of red pepper flakes into your dough. A quarter to a half teaspoon is usually enough to add a subtle warmth without overpowering your toppings. You can also experiment with a dash of smoked paprika for a deeper, more complex flavor profile.

Dough Don'ts: Mistakes to Avoid

Even the simplest recipes have potential pitfalls. Knowing what to avoid will save you time and ensure consistent success.

Overworking the Dough: The Enemy of Elasticity

While kneading is important, over-kneading can make your dough tough and difficult to stretch. Once it's smooth and elastic, stop! If you find it resisting your attempts to stretch it after the first rise, let it rest for another 10-15 minutes – this allows the gluten to relax.

Ignoring the Proofing Process: Key to a Light Crust

Rushing the rise time or placing your dough in a cold environment will result in a dense, heavy crust. Yeast needs warmth to activate and create those beautiful air pockets. Be patient, find that warm spot, and let your dough take its time to double in size. A light, airy crust is your reward.

Your First Slice of Success: Celebrate Your Creation

The moment of truth has arrived! You’ve put in the effort, watched your dough transform, and now it’s time to reap the delicious rewards.

The Joy of Homemade: Savor Every Bite

There's nothing quite like pulling a freshly baked pizza, made from your own dough, out of the oven. The aroma alone is intoxicating! Take a moment to appreciate your accomplishment. That perfectly golden, chewy-yet-crisp crust, adorned with your chosen toppings, is a testament to your newfound pizzaiolo skills. Every bite will taste sweeter because you made it yourself.

Sharing the Love: Show Off Your Pizza Prowess

Pizza is meant to be shared! Gather your friends and family and let them marvel at your culinary creation. Not only will they enjoy a delicious meal, but they’ll also be inspired by your homemade triumph. Don't be shy – snap a photo, share it online, and bask in the well-deserved compliments!

Frequently Asked Questions

Can I Use Different Types of Flour?

Yes! While all-purpose flour works wonderfully, you can experiment. Bread flour will give you a chewier crust due to its higher protein content. Whole wheat flour can be used for a more rustic, nutty flavor, but you might need to adjust the water slightly and expect a slightly denser dough. We recommend sticking with all-purpose or bread flour for your first few attempts.

What If My Yeast Isn't Active?

If your yeast mixture doesn't get foamy after 5-10 minutes, your yeast might be expired or the water wasn't the right temperature. Too hot kills it, too cold won't activate it. Discard the mixture and start again with fresh yeast and properly warmed water. An active yeast is crucial for a good rise.

How Long Can I Store the Dough?

After its first rise, you can punch down the dough, lightly coat it with olive oil, place it in an airtight container or a Ziploc bag, and refrigerate it for up to 3 days. For longer storage, freeze it! Divide the dough into individual portions, wrap tightly in plastic wrap, then place in a freezer-safe bag. Thaw overnight in the fridge before using.

Can I Make This Dough in a Bread Machine?

Absolutely! A bread machine's dough cycle is perfect for this recipe. Simply add the liquid ingredients first, then the dry ingredients on top (flour, salt, sugar, yeast last), following your machine's specific instructions. The machine will mix and knead the dough, then let it complete its first rise, saving you all the manual effort.

Join the Pizza Party: Share Your Dough-Making Journey!

You've done it! You're officially a homemade pizza dough champion. We'd absolutely love to see your delicious creations. Share your pizza masterpieces on social media using #MyEasiestPizzaDough and tag us [Your Blog/Social Handle Here]! Did you experiment with flavors? What were your favorite toppings? Let's inspire each other and build a community of enthusiastic home pizzaiolos. Happy baking!

See all recipes

Cook It. Love It. Share It.

Subscribe to receive weekly news and the latest recipes

Lullatips 2024. All rights reserved